A profile data template specifies the study domains to use in building a patient profile. Note that it is different from a profile display template, which controls visual appearance of a profile. By default, with profile data template None, JMP Clinical includes all available study domains and no corresponding supplemental domains. Because there might be circumstances where you want to include or exclude only certain data in your profile, the Manage Profile Data dialog enables you to build a new template to specify only those domains. You can build and save multiple templates in order to customize and reuse profiles for multiple circumstances. Finally, this dialog enables you to precompute the profile results for all subjects in the study according to a specific template, especially recommended for large studies for which you expect to be generating a lot of profiles.
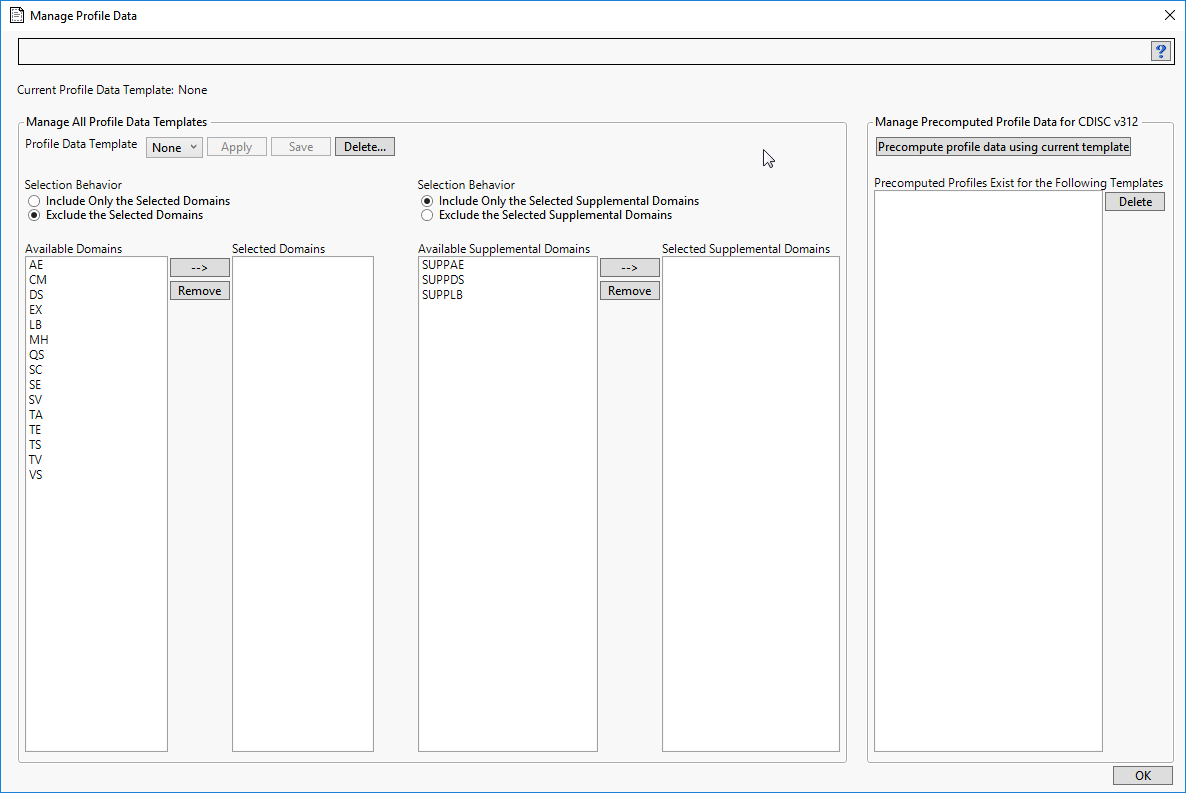
Note: The figure above shows two incidences of Selection Behavior and the Domains Panel (described below) - one each for the study domains and one each for the supplemental domains. The options for supplemental domains appear only when the study contains supplemental domains. When the study contains no supplemental domains, the supplemental domain options are not displayed.
Use the pull down menu to select an existing data template. Click to make it currently active, which means it is used when generating any subsequent profiles. The currently active template is shown just above the pull down menu. Click to delete a template. The button is discussed below.
Check one of two radio buttons to indicate whether the selected options are to be included in or excluded from the profile. Typically, you should select Include... when the number of domains to be included is smaller than the number to exclude. Select Exclude... when the number of domains to be included is larger than the number to exclude. The same logic applies for supplemental domains.
Note: By default, with the None template, selected regular domains are excluded, whereas selected supplemental domains are included. To create a profile that includes all supplemental domains, just change the selection behavior to Exclude... and save the template.
All of the domains available to the study are listed in the Available Domains panel. To make a selection, click (or Ctrl - click, or Shift-click over a range) on one or more desired domains and click  to add the selected domains to the Selected Domains panel. To remove a domain from the Selected Domains panel, click on the domain and click
Note: The behavior of this option is exactly the same for the study domains and the supplemental domains.
When you are satisfied with the selected domains and associated include/exclude behaviors, click and provide a unique name for the template. The template is saved to disk and its name is added to the pull-down list. It is then available for application to subsequent profiles. Make sure to click to make the selected template the currently active one.
Note: You should repeat the precomputations each time you update the study. When study data change, all associated precomputed profiles are automatically deleted.
Using the Manage Profile Data Option
|
|
Because the None template excludes no domains from the profile, selecting None effectively includes all of the domains in your profile. Conversely, if your study contains supplemental data domains, none of these data are included. You must select supplemental domains to include/exclude and save a new template in order for supplemental data to be merged into the profiles.
|
|
Click to make the select template the current template.
|
|
|

|
|
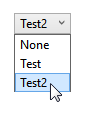
Click to open the Save Profile Data Template window. Specify a name for your template (for example, Test2) and click .
|

|
|
Click to make it current.
|
|
|
Click .
|