|
|
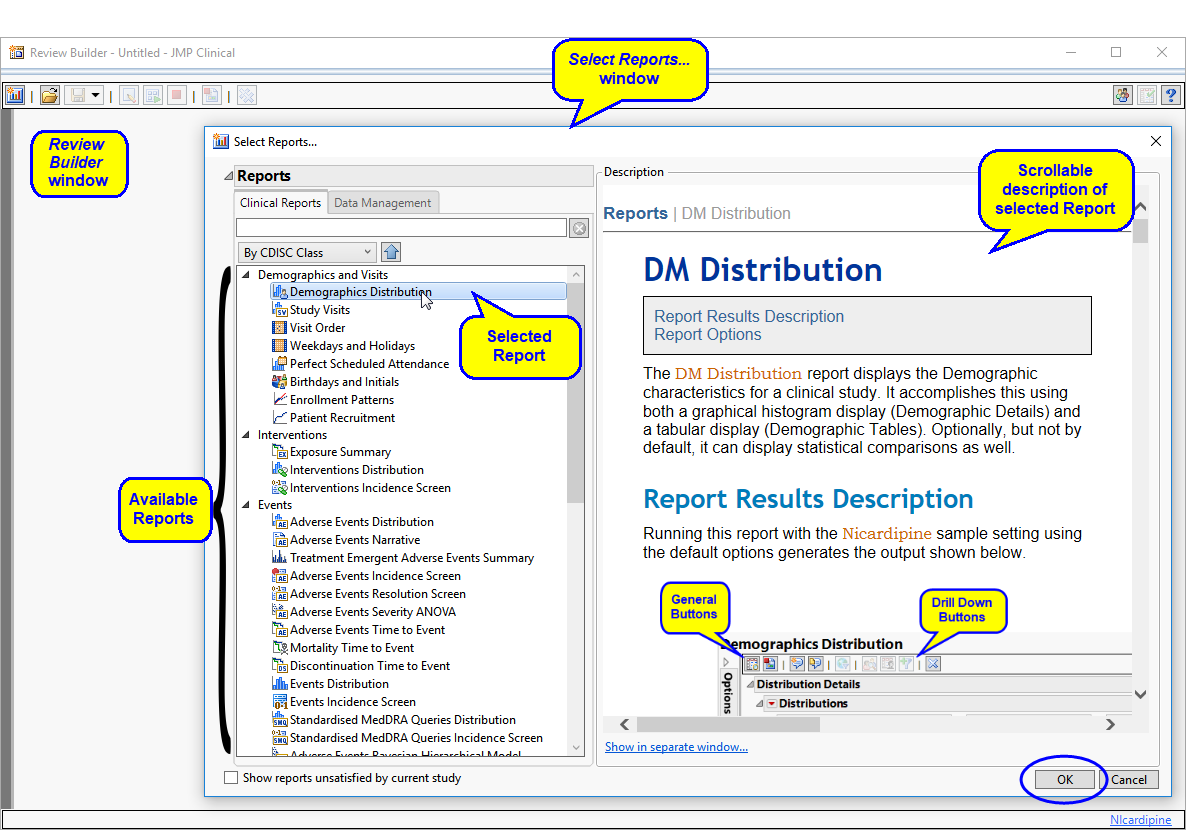
The Select Reports... window lists all of the reports that are available for analyzing the specified study. This window is used to select the reports that are to be included in the review.
Note: Normally, only those reports whose domain/variable requirements are satisfied, and therefore can be run are shown. Check the Show reports unsatisfied by the current study check box to show all reports.

The Review Builder window contains all of the specified reports. There is a separate tab for each report. Initially, each tab lists the options for the analysis. You can accept the default settings or adjust them as desired. After the report(s) is run, results are shown in the tab.
The following action buttons1 are available on the Review Builder to enable you to add or delete reports and run, save, or change the review.
|
•
|
Add Report: Click
|
|
•
|
Open Review Template: Click
|
|
•
|
Save: There are two Save
|
|
•
|
Manage Tabs... Click
|
|
•
|
Run All Reports: Click
|
|
•
|
Cancel Run: Click
|
|
•
|
Generate Review: Click
|
|
•
|
Create static report for Review: Click
|
|
•
|
Clear all report results: Click
|
|
•
|
Explore Subjects for this study: Click
|
|
•
|
|
|
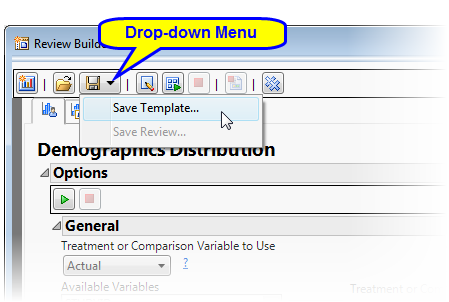
Click the drop-down menu and select Save Template..., as shown below:
|
 Name
Name 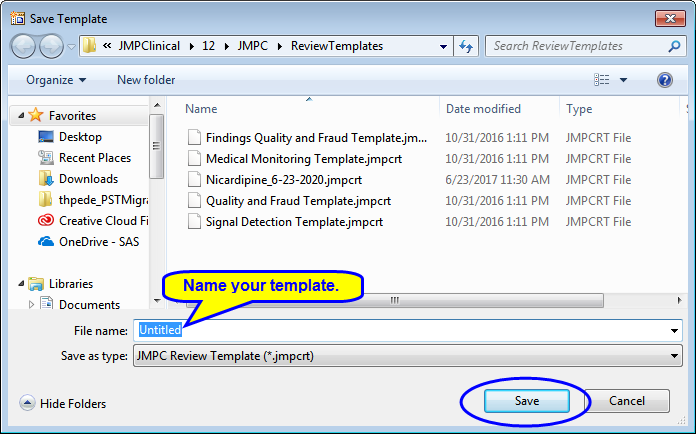
|
|
Provide a name for your template and click to template with the reports and options specified
|
When you generate a review for a study, you can save the template (reports, option settings, and so on) for that review using the Save Review Template... action button (see above). Saved templates can be used again and again for new studies.
|
|
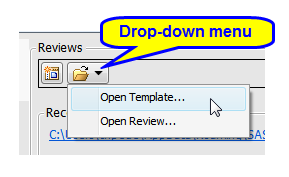
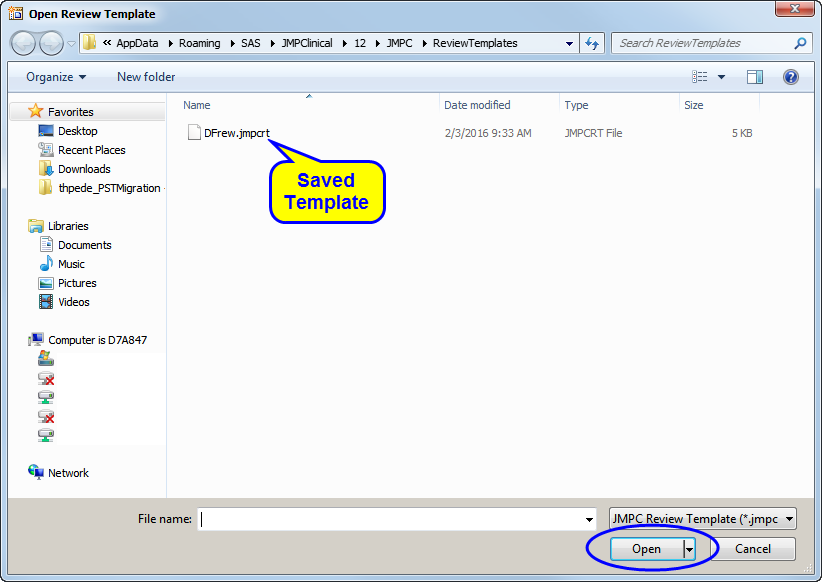
Click the drop-down menu and select Open Template..., as shown below:
|
|
|
Select the desired template and click to open the Review Builder window with the reports and options specified
|
Note: Action buttons are active only when the requirements for their function are met.
Note: By default, review templates are saved to C:\Users\username\AppData\Roaming\SAS\JMPClinical\14\JMPC\ReviewTemplates. If you want to save your templates elsewhere, simply navigate to the correct location before clicking .
Note: By default, review templates are saved to C:\Users\username\AppData\Roaming\SAS\JMPClinical\14\JMPC\ReviewTemplates and the Open Review Template window automatically opens to this folder. If your templates are located elsewhere, simply navigate to the correct location.