Settings 
The Settings tab is used to specify general settings that apply across all JMP Clinical functions ad reports.
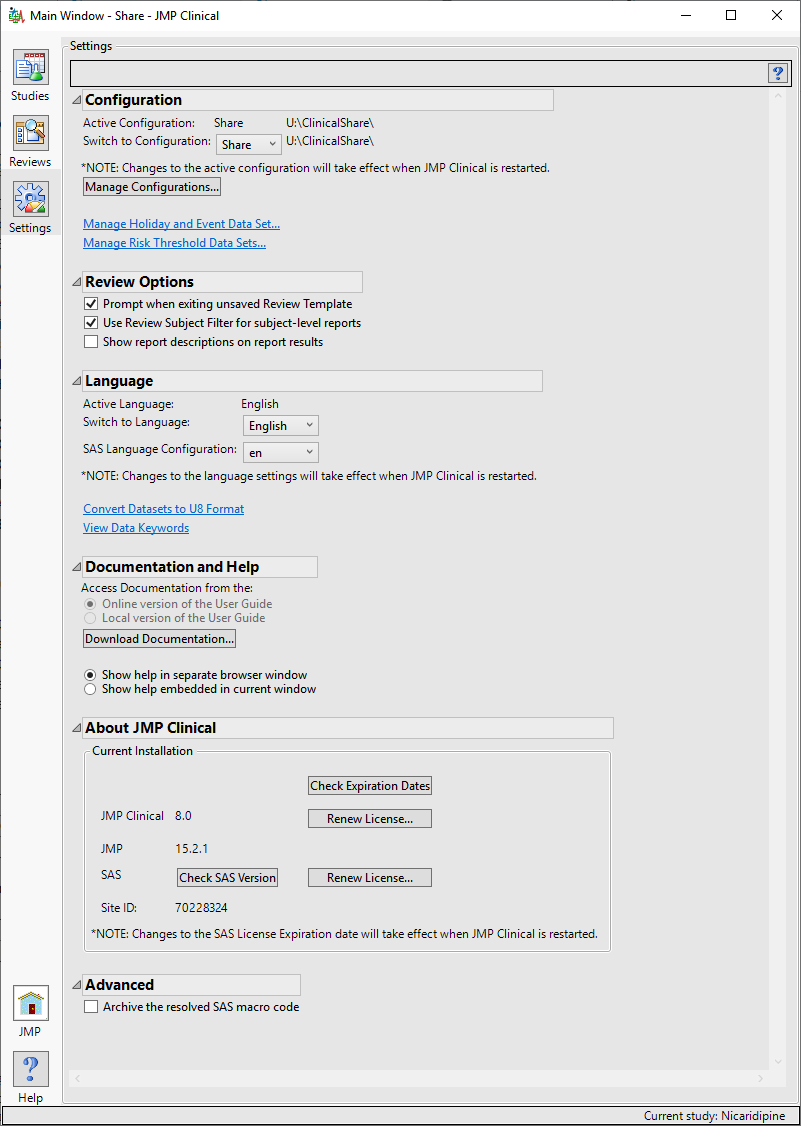
Configuration
Use this feature to choose where to access the study information. Local specifies the default folder on your machine’s hard drive (typically C:\Program Files\SASHome\JMPClinical\**\LifeSciences\1). Other options (such as “Shared) indicates a location on a network drive that has been set up for use by multiple users.
Use the Switch to Configuration drop-down menu to select an alternate configuration. You must the click and then reopen JMP Clinical to effect the change.
Links are provided to the Holiday and Event and the Risk Threshold data sets. Refer to Manage Holiday and Event Data Set... and Manage Risk Threshold Data Sets... for more information.
Adding a New Configuration and/or Modifying an Existing Configuration
The configuration of your JMP Clinical installation can be modified to meet the specific needs of your organization. Use the to add or modify a configuration. Please note that because the files governing the default configuration are typically located in the install folder, users who do not have write privileges for this folder will be unable to modify the default configuration. An alternative option for these users is to add a new configuration in a writeable location. Refer to Manage Configurations for more information.
Options you can set in a new configuration include:
File Paths
This section displays the current configuration, the paths to the user root directory, system preferences, and user documentation and other files used and created by JMP Clinical. An option for viewing the paths to all relevant directories can be selected.
Refer to File Path Options for a Configuration for more information
System Preferences
Refer to System Preferences for a Configuration for descriptions of system preferences and instructions for their customization.
The following user roles can be set for individual users.
| • | Study Manager - A user with this role can do all of the operations involved in managing studies within JMP Clinical: add, combine, and refresh metadata, rename or move folders, update a review with a new snapshot, update the study risk data set, and delete studies. The code specification for this role is "StudyManager". |
| • | Study List Manager - A user with this role can manage and delete studies from shared folders. By default, this role is not assigned. The code specification for this role is "StudyListManager". |
| • | Review Author - A user with this role can create/edit/save Review Templates, do ad hoc analyses, and create and save Reviews. They can also manage the Holiday and Event data set and Risk Threshold data sets used by the configuration. A Review Author implicitly has the Reviewer role as well. The code specification for this role is "ReviewerAuthor". |
| • | Reviewer - A user with this role can open Reviews. The code specification for this role is "Reviewer". |
| • | Configuration Manager - A user with this role can add and define JMP Clinical configurations. This role is assigned to all users by default. The code specification for this role is "StudyManager". |
| • | Settings Editor - A user with this role has access to the Settings tab on the JMP Clinical Main Window. This enables them to select different configurations (if defined), and change how they view Documentation and Help. The code specification for this role is "SettingsEditor". |
Refer to Role Assignments for more information.
Username/Assignments
This option displays the user roles for each user of a shared JMP Clinical configuration.
Refer to Role Assignments for more information.
Note: The tabs and options available on the JMP Clinical Main Window are dependent on the roles assigned to the user. Refer to The JMP Clinical Main Window Changes Depending on the Assigned User Role. for more information.
Review Options
The following Review-level options can be specified here.
| • | Prompt when exiting unsaved Review Template: This option enables you to receive a prompt asking if you want to save changes made to an unsaved review template. |
| • | Use Review Subject Filter for subject-level reports: This option enables you to use Review-level subject filters instead of local filters for subject level reports. |
| • | Show report descriptions on report results: This option displays a description of the report at the top of the report dashboard. |
Language
JMP Clinical supports use of either both English and Chinese languages, as well as partially supporting Japanese.
| 8 | Use the drop-down menus to change language usage by JMP Clinical. |
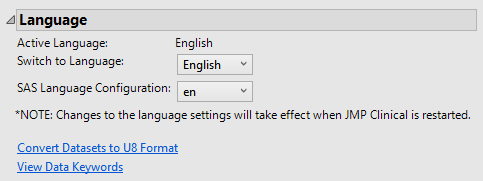
Language options include English, Japanese, and Chinese. Allowable SAS language configurations for data include en and U8.
The following language-related options can be specified here:
| • | Convert datasets to U8 format: Use this option to convert your data sets to U8 format. This format is used for languages other than English. |
| • | View Data Keywords: Use this option to view a table of the keywords for the variables in your study. |
| 8 | You must exit and relaunch JMP Clinical in order for the language change to take effect. |
Note: If you do not see all three languages in the drop-down menu, you might need to add them to your JMP Clinical installation. Refer to How do I view JMP Clinical in a language other than English? for more information.
Documentation and Help
By default, JMP Clinical accesses the JMP Clinical User Guide, an online documentation, and Help system. You can also download the documentation to your local drive and specify which version (local or online) of the JMP Clinical User Guide to access.
| 8 | Click to download and install the JMP Clinical User Guide to your local machine. |
The download process can take several minutes. A window opens, showing the progress of the download.
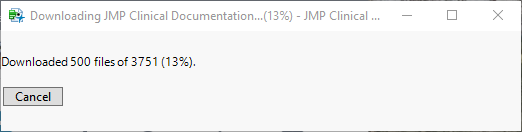
The option for selecting either the online or local versions of the documentation become active once the download has completed.
You can also specify how you want to view the documentation:

| 8 | Select Show help in a separate browser window to open the Help in a new browser window whenever you click on a  icon. icon. |
| 8 | Select Show help embedded in current window to open the Help within a panel in the active JMP window whenever you click on a  icon. icon. |
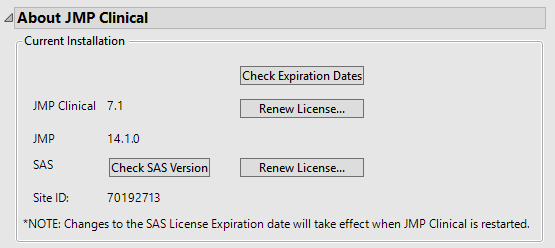
About JMP Clinical
This section provides version numbers for the different components of your JMP Clinical and SAS installations and the expiration dates of your license files. When the time comes to renew your licenses for JMP Clinical, you will receive an email containing the license files for both the JMP and the SAS components of JMP Clinical. These files will have names formatted as follows: jmp151_xxxxxx_xxxxxxxx_Win_X64.txt for the JMP C license, and SAS94_xxxxxx_xxxxxxxx_Win_X64.txt for the SAS license. You should download the two license files to your computer before proceeding with the renewal. Options for renewing your licenses are included.
To renew your JMP Clinical license:
| 8 | Click to open the Renew Your JMP License window |
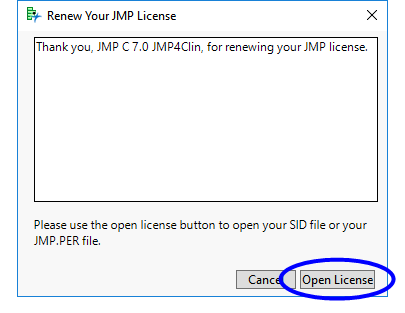
| 8 | Click to open a Finder window. |
| 8 | Navigate to your new license file. |
| 8 | Select the file and click to renew your license. |
To renew your SAS license:
| 8 | Click to open the Choose Language window |
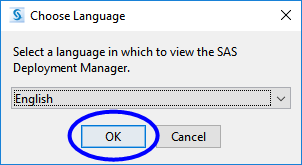
| 8 | Click to open the SAS Deployment Manager. |
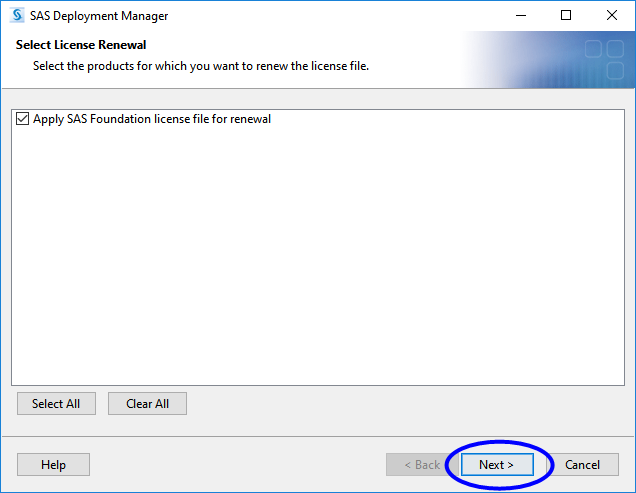
| 8 | Click and follow the prompts to renew your license. |
Advanced
This section includes an option to archive SAS macro code. This option is used only under very specialized circumstances. In general, most users never have a need for this option and should use it only when so directed by their system administrators or SAS Technical Support.
Note: You must quit and reopen JMP before any changes made on this tab take effect.