|
|
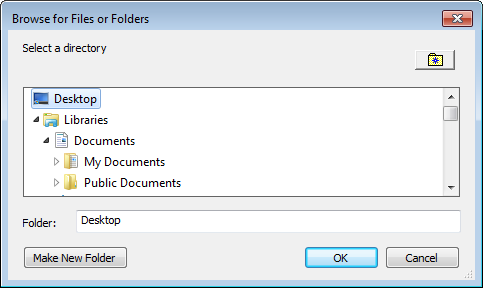
Click to open the Browse for Files or Folders window.
|
|
|
Click .
|
Note: You can create a new folder by clicking  and then specifying a name for the new folder. The following characters cannot be used in the name: : $ % ^ & * ( ) = / \ | ; : ’ “ , < > ?
|
|
Click to open the Server Folder Chooser window.
|
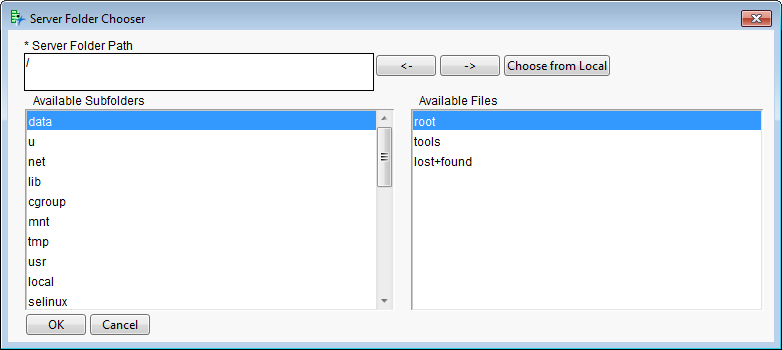
The current server directory is shown in the Server Folder Path field.
Note: By default, when connected to a UNIX server, the root path of “/” is specified. When connected to a Windows server, “C:\” is considered the root, and is specified by default. You can enter another available drive in this field, if desired.
|
|
Select a subfolder from the Available Subfolders field and click the button to navigate down the directory tree.
|
|
|
Highlight the desired folder and click the button to populate the Server Folder Path field with it.
|
|
|
Click .
|
Important: Make sure that you click the button after selecting the desired folder from the Available Subfolders field in order to populate the Server Folder Path field with the desired folder.
|
|
Alternatively, click to surface a dialog for selecting a folder from your local machine. (See Specifying Folders When JMP Is Connected to SAS on Your Local Machine.)
|
Note: Depending on the specific process, parameter, and context, the button might not be displayed in the Server Folder Chooser window.