To browse the data sets on the SAS server, select File > SAS > Browse Data. The Browse SAS Data window appears. See Figure 2.19.
Figure 2.19 Browse SAS Data

The window is initially populated with a list of servers the SAS Metadata Server provides (if connected). Any physical and local connections are also shown (as listed in Figure 2.18).
When you select a data set, the Data Preview outline shows you the first ten rows and columns in the data set. See Figure 2.20.
Figure 2.20 Data Preview
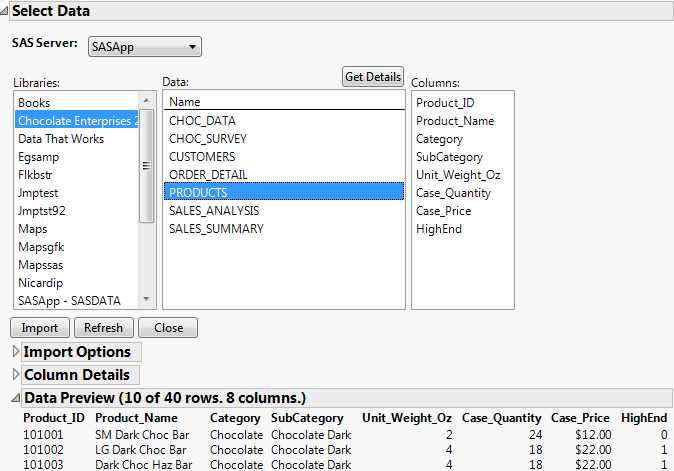
Click Get Details in the Browse SAS Data window to see the size and last modification date for each data set in the library. This option helps you estimate whether your computer can process the entire data set.
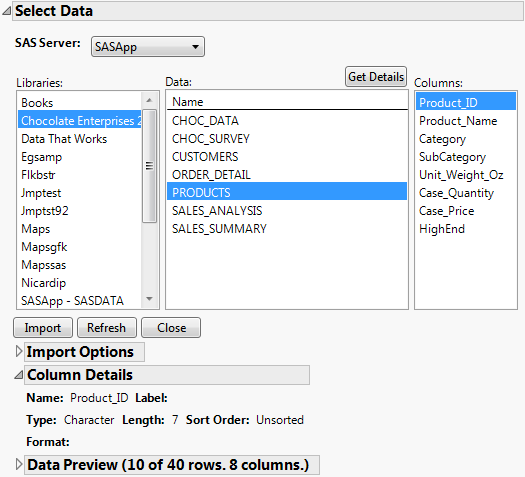
To see information about a particular column in the data set, select it. The Column Details outline shows you some basic information about the data column. See Figure 2.21.
Figure 2.21 Column Details
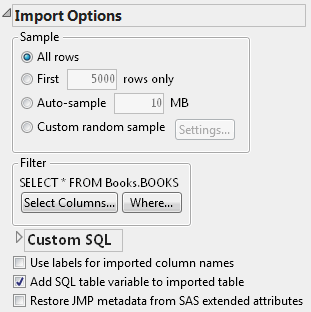
By default, JMP specifies All rows for import.
|
2.
|
Click Import.
|
Figure 2.22 Import Options
|
–
|
|
–
|
|
1.
|
In the Import Options section, select First x rows only and specify the number of rows to import.
|
|
2.
|
|
1.
|
In the Import Options section, select Auto-sample and specify the number of MB to import.
|
|
2.
|
|
1.
|
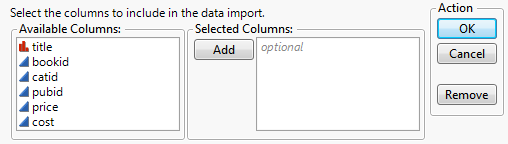
In the Import Options section, click Select Columns.
|
Figure 2.23 Select Columns
|
3.
|
Click Add.
|
|
5.
|
|
1.
|
Click Where.
|
|
3.
|
Click OK to return to the Browse SAS Data window.
|
|
4.
|
Click Import.
|
For information about constructing WHERE clauses and using the WHERE clause editor, see Use the WHERE Clause Editor.
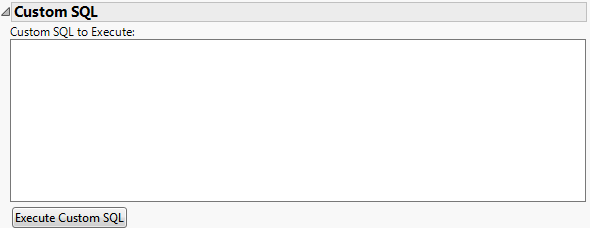
Figure 2.24 Custom SQL
|
3.
|
Click Execute Custom SQL.
|
Note: Your SQL is run on the selected server but is not restricted to any selected library or data set.
In the Sample Imported Data area of the Import Options outline, select the Custom random sample check box. By default, 5% of the rows are imported. To change the random sample import settings, click the Settings button.
Figure 2.25 Sampling Settings
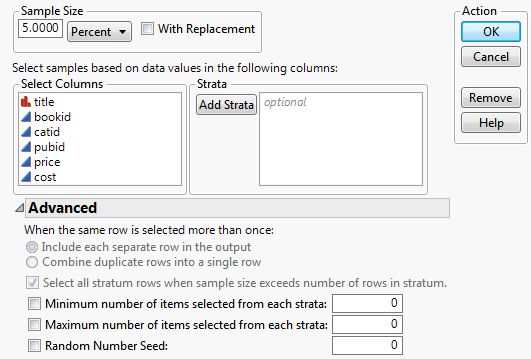
You can set the sample size be percentage or by number of rows. To ensure that each row is sampled only once, de-select the With replacement option. To ensure that any row can be sampled and appear more than once in the imported data, select the option.
If With replacement is selected, you can specify to either add each duplicated row as a separate row or combine all duplicated rows into one row. If the second option is selected, a column is added to the table that contains a count of how many times each row was sampled.
|
1.
|
Select File > Open.
|
|
2.
|
|
4.
|
Click Open.
|