Move Files to a Project
Suppose you generated graphs and reports from open data tables and you want to put all the files in a new project. The Move to/from Project option in the Window menu enables you to quickly combine open windows into a project. You can move windows to a new project or move to windows to an open project.
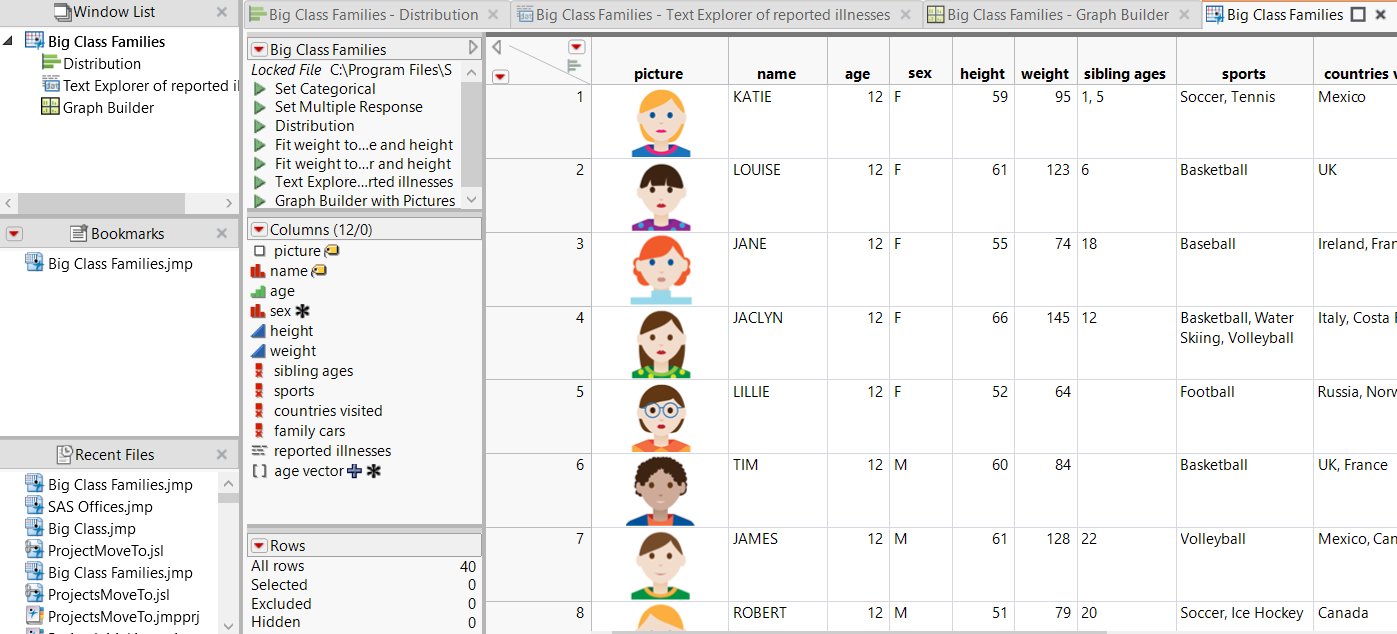
1. Select Help > Sample Data Library and open Big Class Families.jmp.
2. Run the Distribution, Text Explorer, and Graph Builder scripts.
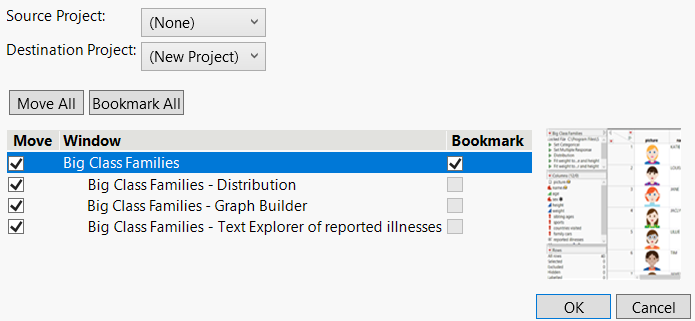
3. From any window, select Window > Move to/from Project.
4. Leave Source Project as “(None)” because you are not moving files from another project.
5. Leave Destination Project as “(New Project)” because you want to put the files in a new project.
6. Select the check box next to Big Class Families.jmp.
The graphs associated with the data table are also selected.
7. Click Bookmark next to Big Class Families.
A bookmark to the data table is included in the project.
Figure 10.22 Moving Files to a New Project
8. Click OK.
A new project with the selected files and bookmark appears.
Figure 10.23 New Project