Example of Creating a New Project
In this example, you create a project, import data, generate an analysis and dock the report in the project window, create a subset table, and then save, close, and reopen the project.
1. Select File > New > Project (Windows) or File > New > New Project (macOS).
2. From the project window, select File > Open.
3. Open the sandwiches.xlsx file, located here by default:
C:/Program Files/SAS/JMP/16/Samples/Import Data
Tip: At the bottom, you might need to change All JMP Files to Excel Files.
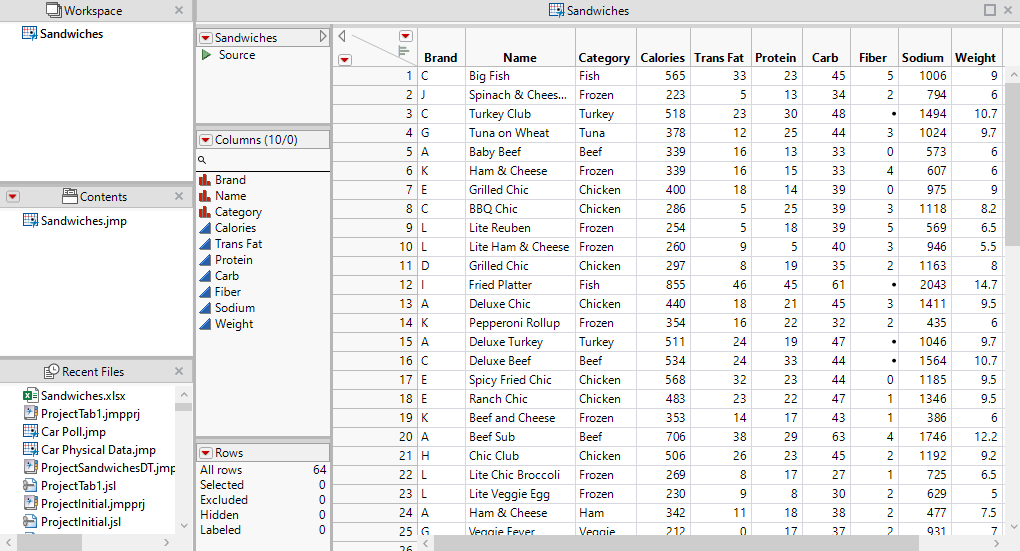
4. Click Import.
5. Select File > Save.
6. Make sure Project Contents is selected.
7. Change the file name to Sandwiches.jmp and click Save.
Figure 7.8 Project with Sandwiches Data Imported
8. Select Analyze > Fit Y by X.
9. Select Calories and click Y, Response.
10. Select Weight and click X, Factor.
11. Click OK.
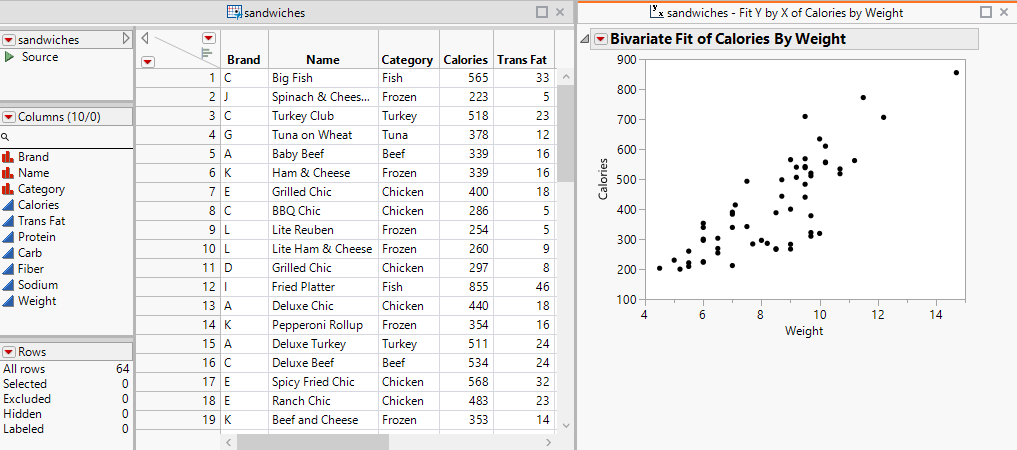
12. Drag the Sandwiches - Fit Y by X tab to the right and drop it into the Dock right zone.
Tip: To show the entire report, you can drag the line between the data table and the report to the left.
Figure 7.9 Fit Y by X (Bivariate) Report Docked at Right
13. Select Tables > Subset.
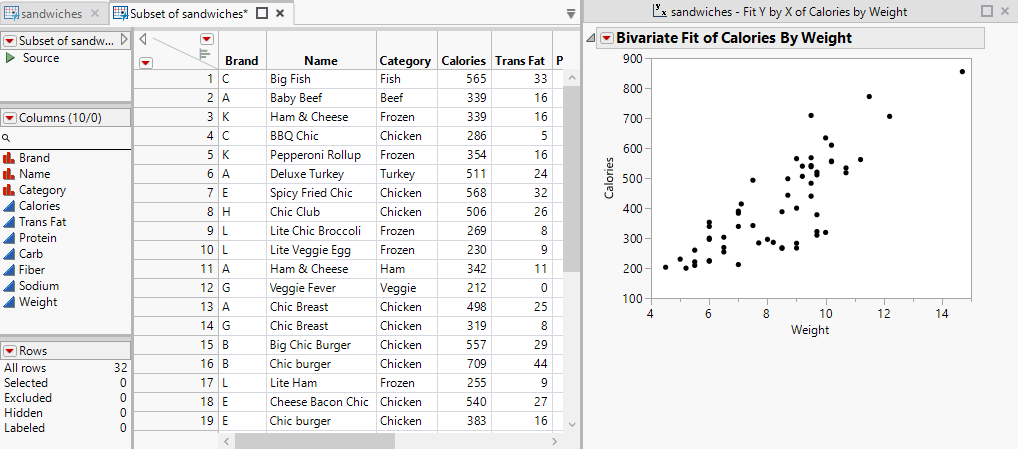
14. Under Rows, select Random: sampling rate 0.5.
15. Click OK.
Figure 7.10 Project with Unsaved Subset Table
16. Select File > Save Project.
17. Navigate to the folder where you want to save your project, name the project file, and click Save.
18. Close the project.
19. Select File > Open and open your project file.
Notice that the subset table that you did not save has been saved automatically to the project file.


