- JMP User Community
- :
- Support
- :
- JMP Knowledge Base
- :
- Step-by-step: Installing JMP® on Macintosh
- Subscribe to RSS Feed
- Mark as New
- Mark as Read
- Bookmark
- Subscribe
- Printer Friendly Page
- Report Inappropriate Content
The following is a step-by-step guide for sites that want to provide their users with an instruction set to install JMP® on their machines.
Note: This SAS Note is not intended to address any environmental or system-related issues that might arise during the installation process. If any deviations are encountered during the installation, verify whether you are running a version of JMP supported by your operating system as listed in JMP System Requirements (Macintosh). Otherwise, contact your IT Administrators. You can also contact JMP Technical Support via Technical Support Services.
1. Download the JMP Software Depot to the Downloads folder on your computer.
2. Install JMP. You might have to give the JMP Installer access to the Desktop. See HERE for more information.
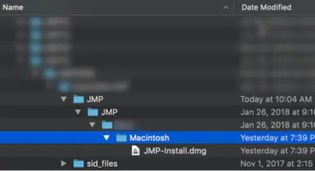
a. In the Downloads folder, browse to the /JMP/JMP/<version>/Macintosh directory and double‐click the installer. I.E. jmppro__<version>__mac.dmg or jmp__<version>__mac.dmg file.
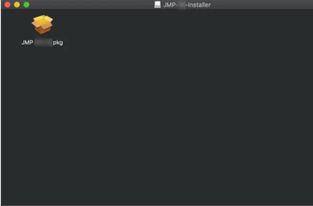
b. Double‐click the JMP version.pkg file to launch the JMP installer.
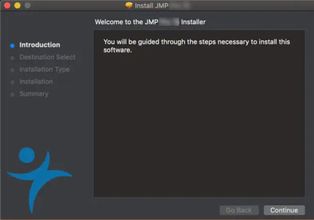
c. Click Continue on the Welcome to the JMP <version> Installer screen.
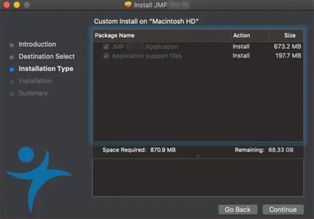
d. Click Continue.
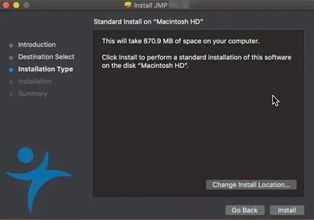
e. Click Install.
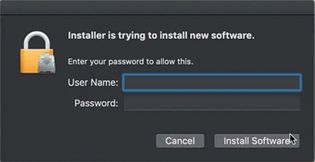
f. Enter your username and computer password at the prompt and click Install Software.
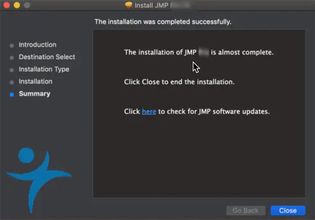
g. Wait for the installation to complete.
h. Click Close.
3. Launch the JMP version.
a. Click Go ► Applications.
b. Locate the JMP version shortcut and double‐click to launch the application.
c. Click the Wait to Register or Register option.
4. When JMP is opened, it prompts you with an Open License prompt if JMP did not find a valid license in the sid_files folder during the installation. Browse to the downloads folder and navigate to /JMP/sid_files/.
a. Locate the license JMPversion_order-number_TS-site-#_Mac_X64.txt file.
b. Select the file and click Open.
c. JMP should tell you that the license was accepted
5. JMP is now installed and ready for use.
a. Navigate to Go ► Applications and start using JMP.
Note: For a PDF of these instructions see the .pdf attached below.
[Previously JMP Note 64473]
- © 2024 JMP Statistical Discovery LLC. All Rights Reserved.
- Terms of Use
- Privacy Statement
- About JMP
- JMP Software
- JMP User Community
- Contact
