Connect to a Database
Your operating system provides an interface for JMP to communicate with databases using ODBC data sources. Create and configure data sources with operating system software. For example, on Windows 7, use Control Panel > System and Security > Administrative Tools > Data Sources (ODBC); on the macOS, use Applications > Utilities > ODBC Manager.
After you create the data source in the operating system software, follow these steps to connect to the database in JMP.
1. Select File > Database > Open Table. The Connections box lists data sources that you have connected to in the current JMP session.
2. Click New Connection.
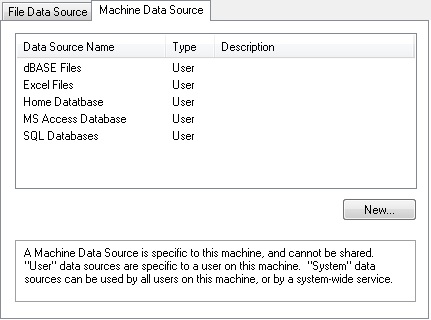
3. (Windows) In the Select Data Source window (Figure 3.65), click the Machine Data Source tab, select the data source, click OK, enter the user name and password, and then click OK.
(macOS) In the Choose DSN window, select the data source, enter the user name and password, and then click Choose DSN.
Figure 3.65 Select a Data Source (Windows)
The new connection is shown in the Database Open Table window.