Locate the Next Selected Row
You can locate the next selected row after the current row and cause it to flash by selecting Rows > Next Selected.
Each time you select Rows > Next Selected, the next selected row is found and flashes. A beep signals when the last selected row is located.
You might want to use this feature when you have selected rows intermittently in a large data set and want to look through the selected rows in the data table.
Example of Locating Next Selected Rows
1. Select Help > Sample Data Library and open Diamonds Data.jmp.
2. Select Analyze > Fit Y by X.
3. Select Carat Weight and click Y, Response.
4. Select Price and click X, Factor.
5. Click OK.
6. Select Tools > Lasso.
If you cannot see the menu bar, place your mouse pointer over the blue bar below the title bar to reveal it.
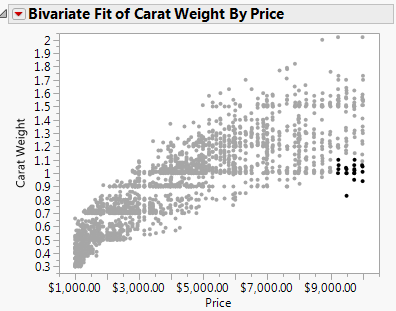
7. Lasso some of the points near the 10,000 dollar price at the bottom of the plot (Figure 4.9).
8. In the data table, select Rows > Next Selected (or you can press the F7 key).
You can easily navigate through the selected rows to see the data for each.
Figure 4.9 Points Selected